


Learning how to fix minor wall damage without professional help is an essential skill for the modern homeowner in 2026, serving as both a financial safeguard and a source of domestic empowerment. While many believe that a simple dent or a nail hole requires the expertise of a licensed contractor, the truth revealed through industry interviews is that these repairs rely on basic chemistry and patience rather than specialized trade secrets. As construction costs continue to rise globally, mastering these techniques ensures that your property value remains intact without draining your savings. This guide pulls back the curtain on the materials and methodologies used by high-end repair specialists to achieve seamless, invisible finishes that stand the test of time, ensuring your home remains a pristine sanctuary.
The Anatomy of Wall Damage
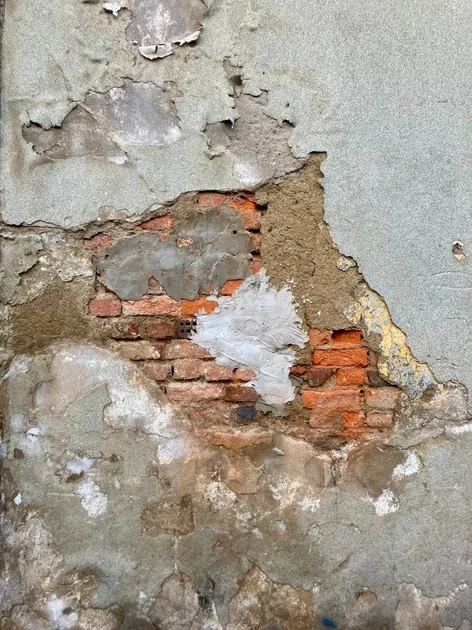
Most residential wall damage originates from common household mishaps, such as furniture impacts, accidental door handle strikes, or the removal of heavy wall decor. In 2026, the market has shifted toward high-density gypsum boards, which are remarkably durable yet prone to localized crumbling when struck with sufficient force. Understanding the depth of the damage is the first step toward a permanent fix. Surface abrasions are often merely cosmetic, affecting only the paint layer, while deeper indentations compromise the structural integrity of the paper facing on the drywall. Identifying whether you are dealing with a simple surface scratch or a structural puncture dictates the specific compounds you will need to achieve a professional-grade finish.
Experts often highlight that the most common failure point for DIY repair jobs is improper surface preparation. Before applying any compound, you must remove loose debris, paper burrs, and jagged edges that prevent a flush finish. Using a fine-grit sanding block, you can gently feather the edges of the damaged area to create a smooth transition between the repair site and the surrounding wall surface. This meticulous attention to detail prevents the “hump” effect that plagues amateur repairs. By investing time in this initial phase, you guarantee that the subsequent layers of spackle or filler will adhere correctly, effectively hiding the history of the damage from even the most critical eyes.
Essential Tools and Materials
To execute a flawless repair, you must equip your toolkit with products that represent the current state-of-the-art in 2026 home maintenance technology. While basic kits are available at hardware retailers, professional results require specific grades of joint compound, high-adhesion primers, and micro-abrasive sanding sponges. Lightweight, pre-mixed spackling paste is generally preferred for minor holes because it dries quickly and resists the shrinkage common in older, heavier products. For those interested in the industry standards, you can find detailed equipment ratings and safety protocols on the International Association of Certified Home Inspectors portal, which remains the gold standard for residential maintenance guidance.
Beyond the filler itself, the choice of applicator is paramount. A stainless steel putty knife, typically between four and six inches wide, allows for the precise feathering of edges, which is the secret technique used by master painters to make repairs disappear. Many enthusiasts fail by using plastic scrapers, which lack the necessary rigidity to apply uniform pressure across the repair site. Furthermore, utilizing a high-quality, high-hiding primer before applying your final coat of paint ensures that the sheen of the patch perfectly matches the surrounding wall. This process prevents the common issue of the repair area appearing dull or discolored once the job is complete, providing a truly seamless transition.
Comparison Table / Specifications Table
| Feature | Spackle (Standard) | Joint Compound | Epoxy Filler |
|---|---|---|---|
| Best For | Small nail holes | Large dents/cracks | Deep structural gouges |
| Drying Time | 15-30 Minutes | 2-4 Hours | 1-2 Hours |
| Shrinkage | Minimal | Moderate | None |
| Sandability | Excellent | Good | Difficult |
| Cost | Budget-friendly | Economical | Premium |
Pros and Cons Analysis
The primary benefit of performing your own wall repairs is the significant cost savings, as professional drywall technicians often charge high minimum service fees even for minor tasks. By learning how to fix minor wall damage yourself, you gain total control over the schedule and the quality of the materials used in your home. Furthermore, the satisfaction of restoring your interior space without outside interference fosters a deeper connection to your living environment. However, there are drawbacks to consider; amateur repairs can result in uneven textures or mismatched paint if the proper matching techniques are not followed. In some cases, rushing the drying process can lead to future cracking, necessitating a second, more laborious attempt at the repair.
Step-by-Step Execution
The Feathering Technique
The most critical phase of the repair process is the application of the compound, specifically the “feathering” technique. Once you have filled the hole, you must drag your putty knife across the patch with decreasing pressure as you move outward. This creates a thin, tapered edge that blends into the original wall, effectively hiding the repair site. Many professionals emphasize that you should never try to fill a deep hole in a single pass. Instead, apply thin layers, allowing each to dry completely before adding the next. This prevents the compound from sinking or cracking during the curing phase, which is a common error for those attempting their first major patch.
After the final layer of compound has dried, use a 220-grit sanding block to buff the area until it is perfectly flush with the wall. Do not use excessive force, as you risk sanding through the paper facing of the drywall, which would necessitate starting the entire process over. Once sanded, wipe the area with a damp cloth to remove any dust, as residual powder will prevent the primer from bonding correctly. This level of preparation is the definitive difference between a repair that looks like a patch and one that looks like it was never there. Modern, dust-free sanding tools are highly recommended for indoor repairs to maintain air quality.
Key Takeaways
- Always prep the area by removing loose drywall paper and debris.
- Use a stainless steel putty knife for superior feathering control.
- Apply multiple thin layers of compound rather than one thick layer.
- Ensure the surface is completely dust-free before applying primer.
- Always prime the patch to ensure the paint finish matches the wall.
- Consider using high-quality LED lighting to inspect the surface for uneven spots.
Frequently Asked Questions
How do I match the wall texture?
For walls with light orange-peel or knock-down texture, you can purchase aerosol texturing spray. After applying your patch, spray the texture lightly to match the existing pattern before painting.
Can I use toothpaste for small holes?
While often cited in DIY “hacks,” toothpaste is not a permanent solution as it shrinks, cracks, and does not provide a surface that paint can effectively bond to long-term.
Why does my patch show through the paint?
This is likely due to a lack of primer. Drywall compound is porous and will absorb paint differently than the surrounding wall, causing the patch to look dull or discolored.
How deep of a hole can I fix myself?
Minor holes up to four inches in diameter can be repaired with a self-adhesive mesh patch and compound. Anything larger may require a physical drywall backing board.
Is it possible to fix wallpapered walls?
Wallpapered walls are significantly more difficult to repair. It is often necessary to carefully peel back the paper, patch the wall, and re-adhere the wallpaper with specialized adhesive.
Conclusion
Mastering the art of wall repair in 2026 is a practical endeavor that elevates your capabilities as a homeowner. By understanding the chemical properties of your filling materials and the mechanical necessity of proper feathering, you can achieve professional results that save time and money. While the process requires patience and precision, the reward is a home that remains in pristine condition, shielded from the wear and tear of daily life. Always prioritize safety and quality materials, and you will find that these minor repairs are well within your reach, ensuring your property remains a source of pride for years to come.