

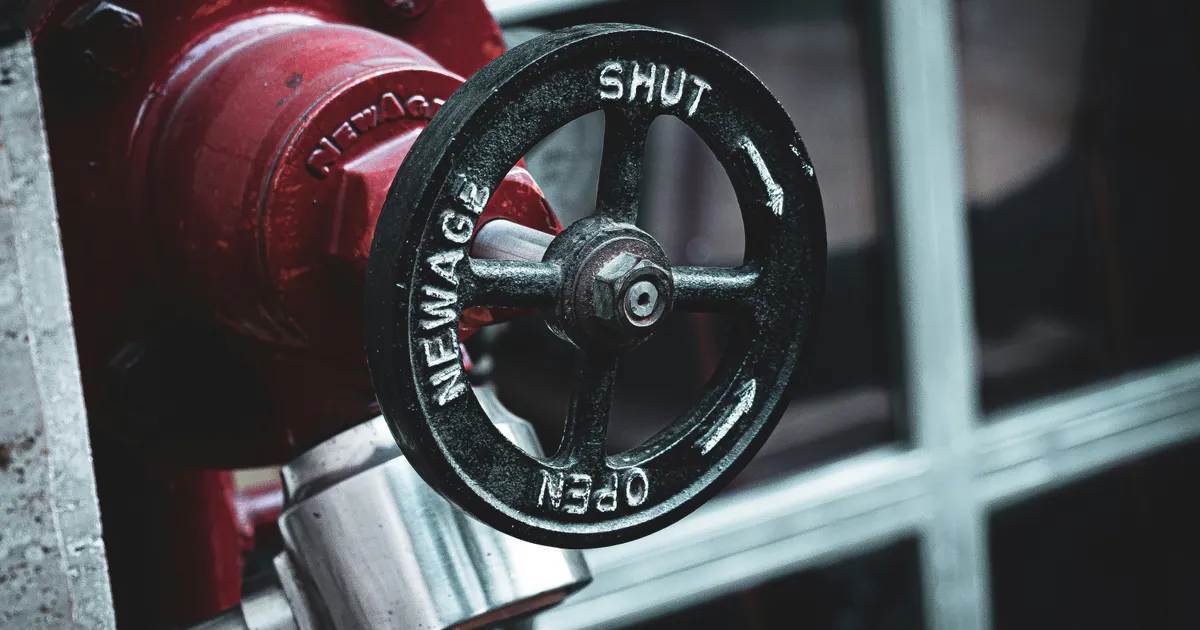

Installing a shut-off valve for easier future maintenance is one of the most proactive steps a homeowner can take to protect their property from catastrophic water damage. By isolating specific fixtures like sinks, toilets, or appliances, you eliminate the need to turn off the main water supply for the entire house during simple repairs. As we head into 2026, modern plumbing standards emphasize individual control points to simplify home management and reduce emergency plumbing costs. Whether you are dealing with a leaking faucet or upgrading your fixtures, having a dedicated valve allows for precision control. This guide outlines the essential tools, safety protocols, and technical procedures required to install these critical components effectively, ensuring your home’s plumbing infrastructure remains resilient and highly accessible for decades to come.
Selecting the Right Valve Type
The first step in your installation journey involves choosing the correct hardware for your specific pipe material and flow requirements. Compression valves are the most common choice for DIY enthusiasts because they do not require specialized soldering equipment or open flames. These valves use a brass nut and a compression ring, or ferrule, to create a watertight seal against the pipe wall. They are ideal for copper tubing and provide a reliable, leak-free connection that can be easily tightened if minor weeping occurs over time. Always ensure you measure your pipe diameter accurately, as even a sixteenth-of-an-inch discrepancy can compromise the integrity of the fitting.
For more permanent solutions, professionals often opt for sweat-solder valves or modern push-to-connect systems. Push-to-connect fittings, such as those produced by SharkBite, have gained significant traction heading into 2026 due to their ease of installation and ability to work on various pipe materials like PEX, CPVC, and copper. While these are convenient, it is vital to follow the manufacturer’s specific depth markings to ensure the internal O-ring seats properly. If you choose a solder-based valve, you must possess advanced skills to manage the torch and flux application, as improper heat distribution can damage the internal rubber seals of the valve itself.
Essential Tools and Preparation
Before you begin, gather all necessary tools to avoid mid-project interruptions that could lead to unnecessary water exposure. You will need a pipe cutter, an adjustable wrench, a deburring tool, and a bucket to catch residual water remaining in the lines. If you are working with copper, a piece of fine-grit sandpaper or emery cloth is essential for cleaning the pipe ends to ensure a smooth surface for the compression ring. Having a rag or towel nearby is also non-negotiable, as even a perfectly shut-off main line will inevitably drip when the pipe is breached. Proper preparation is the hallmark of a professional-grade plumbing job.
Safety Protocols for Home Plumbing
Safety is the primary concern when working with pressurized water systems. Always double-check that the main water supply is completely turned off and open the lowest faucet in the house to drain the system of residual pressure. If you are working in a tight cabinet space, ensure you have adequate lighting and a stable platform to avoid physical strain. Never force a fitting onto a pipe if it feels tight; take a moment to re-examine the diameter or check for pipe distortion. For detailed guidance on local plumbing codes, visit the International Association of Plumbing and Mechanical Officials to ensure your setup complies with current regional mandates.
Removing the Existing Section
Once the water is drained, use your pipe cutter to remove the old section of pipe or the existing tee fitting. Position the cutter so that the blade is perpendicular to the pipe, ensuring a clean, square cut that will allow the new valve to seat flush against the pipe end. If the pipe is deformed or has significant oxidation, you may need to trim back to a cleaner section of the pipe to establish a reliable connection. Using a dull blade can cause the pipe to crimp, which prevents the compression nut from threading correctly. Take your time during this phase, as a clean cut is the foundation of a leak-free installation.
After the cut is made, use your deburring tool or a small file to remove any sharp edges or burrs from both the inside and outside of the pipe. These small pieces of metal can damage the internal O-rings of your new valve, leading to slow leaks that may not be apparent until long after the project is complete. Clean the exterior of the pipe with an abrasive cloth until it shines, removing any paint, scale, or oxidation. Once the surface is pristine, wipe it clean with a dry cloth to ensure no debris enters the valve mechanism. A clean pipe is essential for a long-lasting, watertight seal.
Installing the New Valve
Slide the compression nut onto the pipe, followed by the brass compression ring. Ensure the ring is seated squarely against the pipe before pushing the valve body onto the pipe end until it bottoms out against the internal shoulder. Hand-tighten the nut as much as possible, then use two adjustable wrenches to finish the job: one to hold the valve body steady and the other to turn the nut. Avoid over-tightening, as this can crush the ring or strip the threads. A good rule of thumb is to tighten the nut until you feel firm resistance, then turn it an additional quarter or half-turn to set the compression.
Once the valve is installed, verify that the handle is in the off position before slowly turning the main water supply back on. Carefully inspect the new connection for any signs of moisture or weeping. If you notice a small drip, a slight adjustment with the wrench is usually sufficient to seat the ring properly. If the leak persists, you may need to disassemble the connection and check for debris or a misaligned ferrule. By testing the connection under pressure before closing up your cabinet or wall space, you ensure that your 2026 home upgrade provides the peace of mind you intended when you started the project.
Comparison of Valve Types
Choosing the right valve depends heavily on your existing plumbing infrastructure and your comfort level with different installation techniques. Below is a comparison of the most common options available for residential use.
| Valve Type | Ease of Install | Material Compatibility | Durability |
|---|---|---|---|
| Compression | High | Copper | Moderate |
| Push-to-Connect | Very High | Copper, PEX, CPVC | High |
| Sweat (Solder) | Low | Copper | Very High |
| Threaded | Moderate | Iron, Brass | High |
Key Takeaways
- Always turn off the main water supply and drain the lines before starting any plumbing work.
- Use a clean, square cut to ensure the valve seats properly against the pipe wall.
- Deburr the edges of the pipe to prevent damage to internal O-rings or seals.
- Test the installation under pressure before finalizing the enclosure or storage area.
- Choose the valve type that best matches your existing pipe material and skill set.
- Regularly check your new valves for signs of corrosion or minor leaks during annual inspections.
Frequently Asked Questions
How often should I test my shut-off valves?
It is recommended to cycle your shut-off valves at least once every six months to prevent mineral buildup and ensure the internal components do not seize over time.
Can I install a shut-off valve on PEX piping?
Yes, PEX piping is highly compatible with push-to-connect valves, which provide a secure and fast connection without the need for specialized crimping tools.
What if my pipe is too short to install a new valve?
If you lack sufficient pipe length, you may need to use a coupling to extend the line or contact a professional plumber to safely extend the piping behind the wall.
Is Teflon tape necessary for compression valves?
No, compression valves rely on the physical compression of the brass ring against the pipe and body; adding tape can actually interfere with the seal and cause leaks.
Do I need to replace the entire valve if it starts leaking?
In many cases, a minor drip from the packing nut can be fixed by tightening it slightly, but if the valve body itself is compromised, replacement is necessary.
Conclusion
Installing a dedicated shut-off valve is a transformative upgrade that empowers homeowners to manage their plumbing systems with confidence and efficiency. By following the systematic steps outlined in this guide, you have successfully added a layer of protection to your home, mitigating the risk of major water damage during future repairs. As you look forward to the remainder of 2026, remember that proactive maintenance and quality hardware are the keys to a stress-free household. With your new valve in place, you are now fully equipped to handle minor maintenance tasks independently, saving both time and money while ensuring the longevity of your home’s essential infrastructure.