

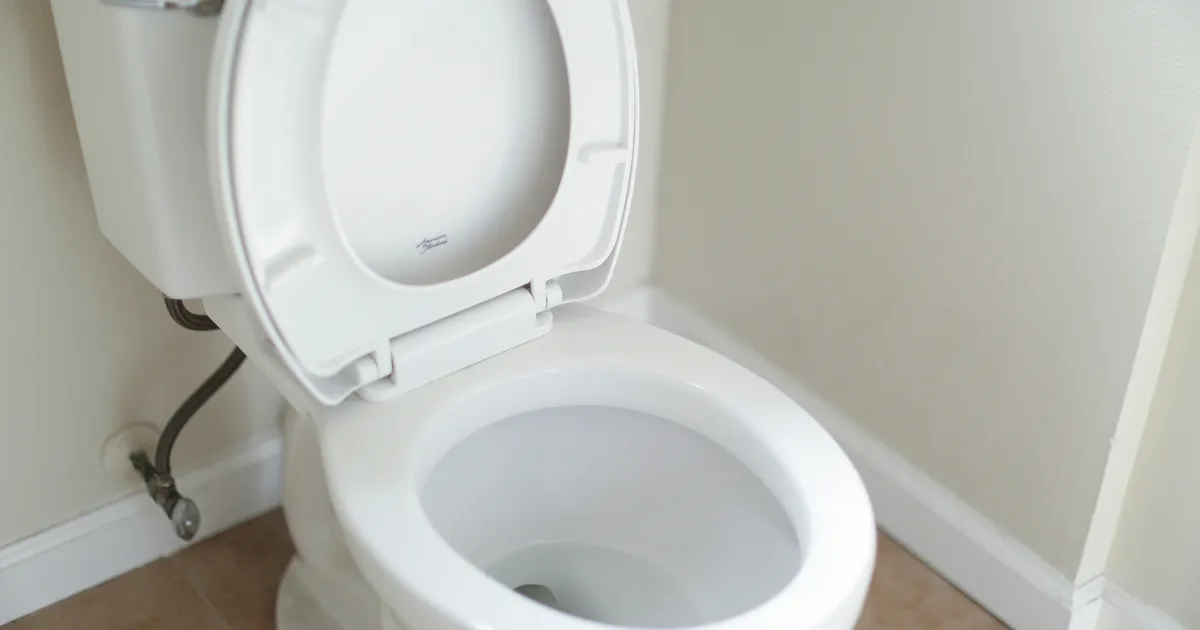

Identifying a constantly running toilet flush valve requires a systematic approach to hydraulic diagnostics within the residential water distribution framework. In the current 2026 landscape of high-efficiency plumbing, even a minor deviation in the seal integrity of the flush assembly can lead to significant volumetric loss, often exceeding several hundred gallons per diurnal cycle. This phenomenon, typically characterized by a continuous audible bypass of fluid or periodic “phantom flushing,” usually indicates a failure in the elastomeric properties of the flapper or a breach in the hydrostatic seal of the flush valve seat. As a senior engineer, one must appreciate that these systems operate on delicate pressure differentials and gravitational potential energy, where any mechanical interference or material fatigue directly compromises the volumetric efficiency of the fixture and the integrity of the building’s fluid management system.
Diagnostic Protocols for Hydraulic Failure Modes
The primary etiology of a constantly running toilet flush valve often resides in the degradation of the polymer interface between the flapper and the valve seat. Over time, exposure to chlorine, chloramines, and varying pH levels in the municipal water supply induces oxidative stress on the rubber components, leading to warping or “blistering.” This material failure prevents the flapper from achieving a watertight hermetic seal against the discharge orifice. To diagnose this, an engineer should perform a dye-concentration test by introducing a high-visibility tracer into the cistern. If the tracer migrates into the bowl without a manual actuation of the trip lever, the integrity of the flush valve seal is definitively compromised, necessitating a full component overhaul to restore the system to its nominal baseline performance.
Beyond simple seal failure, one must evaluate the verticality of the overflow tube and the positioning of the refill clip. If the water level in the cistern is calibrated above the aperture of the overflow tube, the system will experience a continuous gravitational bypass. This is frequently caused by a malfunctioning fill valve or an improperly set float height, which fails to terminate the inlet flow once the desired hydrostatic head is achieved. In 2026, many advanced systems utilize high-sensitivity diaphragm valves that are susceptible to particulate ingress. If debris lodges within the pilot orifice, the valve may fail to close, resulting in a constant overflow condition that mimics a flush valve leak. Discriminating between these failure modes is essential before initiating the replacement of the flush valve assembly itself.
Component Selection for Fluid Management Systems
When selecting a replacement kit for a constantly running toilet flush valve, engineers must prioritize material compatibility and geometric specifications. Modern universal replacement kits are often engineered with advanced silicone polymers that offer superior resistance to chemical degradation compared to traditional vulcanized rubber. These kits typically include a high-performance flapper, a threaded or snap-on flush valve seat, and specialized gaskets designed for high-torque compression. It is imperative to verify the diameter of the flush orifice, which usually adheres to the 2-inch or 3-inch standard established by IAPMO. Utilizing an incorrectly sized component will result in improper flow rates and potential siphoning issues that can further degrade the efficiency of the porcelain fixture during the discharge cycle.
Furthermore, the selection process should account for the specific mechanical actuation of the existing fixture. Some contemporary low-flow toilets utilize canister-style flush valves rather than traditional flappers. These canister systems provide a more uniform circumferential seal but require specific O-ring replacements rather than a universal flapper. A senior engineer should analyze the CAD-derived specifications of the original equipment manufacturer (OEM) to ensure that the replacement kit maintains the intended discharge velocity and trapway evacuation force. In 2026, the integration of WaterSense-certified components is not merely a recommendation but a regulatory requirement in many jurisdictions to ensure that the hydraulic profile of the toilet remains within the 1.28 gallons-per-flush (GPF) threshold for optimal resource conservation.
Pre-Intervention System Isolation Procedures
Before initiating the physical replacement of the flush valve, the hydraulic system must be fully isolated and depressurized. This begins with the closure of the angle stop valve located at the wall interface, which terminates the pressurized inflow from the building’s potable water riser. Once the supply is secured, the cistern must be evacuated via a manual flush, followed by the removal of any residual volume using a high-density sponge or a specialized suction device. This step is critical to prevent accidental discharge into the workspace and to ensure a dry surface for the application of any anaerobic adhesives or gaskets. One should also inspect the supply line for signs of calcification or stress fractures that could lead to secondary failures during the re-pressurization phase.
Following evacuation, the mechanical linkages connecting the trip lever to the flush valve must be disconnected. This involves removing the stainless steel or plastic chain from the actuator arm, noting the specific link count to ensure identical tensioning upon reassembly. If the repair involves the replacement of the entire flush valve assembly, the tank-to-bowl bolts must be uninstalled. This requires a calibrated socket wrench to avoid applying excessive lateral force to the vitreous china, which could result in catastrophic structural cracking. The engineer must carefully lift the cistern from the bowl, placing it on a non-abrasive surface to protect the porcelain finish while exposing the primary flush valve mounting nut located at the base of the tank.
Disassembly and Calibrating the Overflow Tube
With the cistern isolated, the removal of the old flush valve assembly proceeds by loosening the large-diameter friction nut on the exterior underside of the tank. This often requires a specialized spud wrench due to the limited clearance and the high torque required to break the seal of an aged gasket. Once the nut is removed, the entire flush valve assembly can be extracted from the interior of the tank. It is vital to inspect the mounting surface for any mineral deposits or “scaling” that could interfere with the seating of the new gasket. A non-conductive abrasive pad should be used to clear the orifice circumference, ensuring a smooth interface for the new elastomeric seal to prevent future leaks at the tank-to-bowl junction.
Calibrating the Overflow Tube Height
During the installation of the new flush valve, the height of the overflow tube must be precisely calibrated relative to the critical level (CL) mark on the fill valve. The overflow tube serves as a safety bypass to prevent external flooding in the event of an inlet valve failure. In 2026, most replacement kits feature adjustable tubes that can be cut or telescoped to match the specific geometry of the tank. The apex of the overflow tube must be positioned at least one inch below the hole for the trip lever and approximately half an inch above the desired water line. This ensures that the system maintains sufficient hydrostatic pressure for a powerful flush while providing an adequate safety margin for overflow management during a malfunction.
The reinstallation of the flush valve requires the placement of the “tank-to-bowl” gasket, also known as a spud washer, over the threaded discharge outlet. This gasket serves as the primary barrier against external leaks between the two porcelain components. When reseating the tank onto the bowl, the engineer must ensure that the gasket is centered perfectly over the bowl’s inlet orifice. The tank-to-bowl bolts should then be inserted with new rubber washers and tightened in an alternating fashion. This incremental tightening process ensures even compression across the gasket interface, preventing the uneven distribution of stress that often leads to hairline fractures in the porcelain or localized seal failure under dynamic load conditions.
Installation of the Replacement Kit and Seating
Once the main valve body is secured, the focus shifts to the installation of the flapper or canister seal. For a standard flapper, the hinge points must be snapped onto the pegs of the overflow tube, ensuring that the flapper can pivot freely without lateral resistance. The chain should be attached to the trip lever with a minimal amount of slack—typically about half an inch—to allow the flapper to seat fully while ensuring immediate lift upon actuation. If the kit utilizes a canister design, the central guide post must be aligned with the internal housing to ensure vertical travel. Lubricating the O-ring with a silicone-based, water-insoluble grease can enhance the seal’s longevity and facilitate smoother mechanical operation during the flush cycle.
The final step in the physical assembly is the reconnection of the refill tube. This small-diameter elastomer tube must be directed into the overflow tube, often secured by a plastic clip. The refill tube is responsible for replenishing the water trap in the bowl during the cistern’s refill phase, which is essential for maintaining the trap seal against sewer gas ingress. It is crucial that the end of the refill tube remains above the water line within the overflow tube to prevent a siphoning effect. According to standards set by the EPA WaterSense program, improper refill tube placement can lead to significant water waste by continuously drawing water from the fill valve into the drain via the siphoning action of the tube.
Post-Installation Validation and Benchmarking
Validation of the repair involves a multi-stage re-pressurization and testing sequence. The angle stop should be opened slowly to avoid a water hammer effect that could shock the new seals or the fill valve diaphragm. As the cistern fills, the engineer should monitor the water level carefully to ensure it terminates at the manufacturer’s specified “fill line,” usually marked on the interior wall of the tank or the overflow tube. Any deviation requires adjustment of the fill valve float. Once the tank is full, a series of test flushes should be performed to observe the evacuation dynamics. The flapper should stay elevated long enough to allow for a full volumetric discharge and then drop decisively to form an instantaneous seal.
To confirm that the constantly running toilet flush valve has been successfully remediated, a final leak detection test should be conducted. This involves drying the exterior of the tank and bowl and observing the junctions for any moisture over a thirty-minute period. Additionally, another dye test can be performed to verify the hermetic integrity of the internal seal. In a professional engineering context, one might also use an ultrasonic leak detector to identify high-frequency acoustic signatures associated with microscopic fluid bypass. Achieving a zero-leak status confirms that the hydraulic efficiency of the fixture has been restored to its peak operational parameters, ensuring long-term reliability and resource conservation for the 2026 fiscal year and beyond.
Key Takeaways
- Material Fatigue: Elastomeric degradation from chemical exposure is the leading cause of flush valve failure.
- Precise Calibration: Overflow tube height must be set relative to the critical level to prevent bypass and flooding.
- Siphon Prevention: Refill tubes must be clipped above the water line to avoid continuous fluid loss.
- Torque Management: Even compression of tank-to-bowl bolts is vital to prevent porcelain structural failure.
- Validation: Post-installation dye tests and acoustic monitoring ensure the restoration of hermetic seal integrity.
Frequently Asked Questions
Why does my toilet still run after replacing the flapper?
If the leak persists, the issue likely resides in the flush valve seat itself rather than the flapper. Mineral deposits or pitting on the plastic seat can prevent the flapper from seating flush. In such cases, the entire flush valve assembly must be replaced, or a specialized seat repair kit with a permanent adhesive seal must be utilized to provide a new, smooth mating surface.
How tight should the tank-to-bowl bolts be?
The bolts should be tightened until the tank is stable and does not rock, but they must not be over-torqued. Excessive force can crack the porcelain. A good rule of thumb is to tighten them by hand and then provide an additional half-turn with a wrench, ensuring the tank remains level throughout the process to maintain even pressure on the spud gasket.
Can I use chlorine tablets in my toilet tank?
From an engineering perspective, in-tank chemical cleaners are highly discouraged. The high concentration of oxidizers like chlorine accelerates the degradation of rubber and plastic components, specifically the flapper and gaskets. This chemical attack leads to premature failure of the flush valve, often voiding manufacturer warranties and necessitating more frequent repairs.
What is the difference between a 2-inch and 3-inch flush valve?
The diameter refers to the size of the discharge orifice at the bottom of the tank. A 3-inch valve allows for a much higher flow rate, enabling a faster and more powerful flush with less water. It is essential to measure your existing valve before purchasing a replacement kit, as the two sizes are not interchangeable due to the hole size in the porcelain.
How often should a flush valve be replaced?
Under normal operating conditions, a high-quality flush valve assembly should last between five and seven years. However, factors such as high water pressure, poor water quality, or the use of chemical cleaners can reduce this lifespan. Routine inspections every two years are recommended to identify early signs of material fatigue or mineral buildup before a catastrophic leak occurs.
Conclusion
Resolving a constantly running toilet flush valve is a critical maintenance task that demands technical precision and an understanding of fluid dynamics. By following a structured diagnostic and installation protocol, one can effectively mitigate water waste and protect the structural integrity of the plumbing system. Utilizing advanced materials and adhering to modern 2026 standards ensures that the repair is not merely a temporary fix but a long-term enhancement of the fixture’s performance. Ultimately, the systematic replacement of these components preserves the volumetric efficiency of the building’s water infrastructure and reduces the total cost of ownership for the facility.