

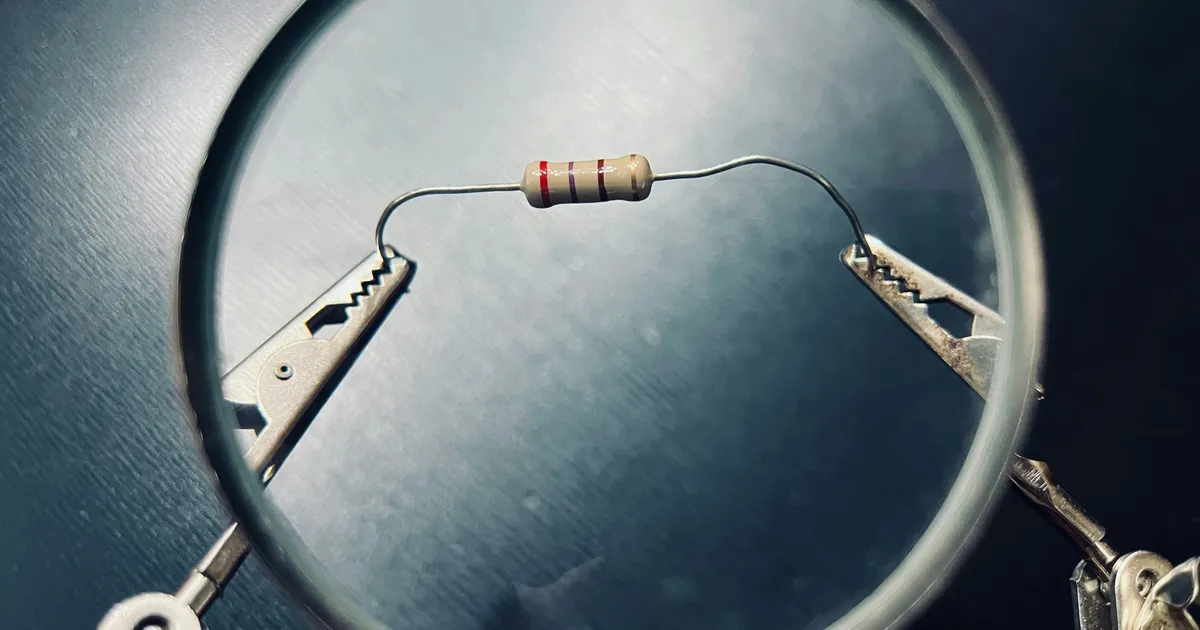

Identifying and fixing high-resistance connections in home lighting circuits is a critical maintenance task that ensures both the longevity of your electrical system and the safety of your household. High-resistance connections, often referred to as “loose connections,” occur when the physical interface between two conductors becomes compromised due to oxidation, thermal expansion, or improper installation. These compromised joints act as resistors within the circuit, converting electrical energy into unwanted heat rather than light. By 2026, many older residential wiring systems are reaching a state of inevitable degradation, making proactive diagnostic checks essential. Left unaddressed, these faulty junctions can cause flickering lights, humming sounds, and, in the worst-case scenarios, arc faults that lead to dangerous electrical fires behind your walls.
The Physics of High-Resistance Faults
At the atomic level, an electrical connection relies on intimate metal-to-metal contact to allow the smooth flow of electrons. When a terminal screw is loose or a wire nut is improperly secured, the contact surface area decreases significantly. This constriction forces the current to pass through a smaller path, creating a bottleneck that generates localized heat. According to the principles of Joule heating, the heat produced is proportional to the square of the current multiplied by the resistance. As the connection heats up, the metal expands and contracts, which can further loosen the connection over time, creating a dangerous feedback loop of worsening resistance and increasing temperature.
Modern electrical standards, as outlined by the National Fire Protection Association, emphasize that these thermal runaway events are a leading cause of residential electrical failures. In 2026, homeowners should be aware that even a seemingly minor increase in resistance can lead to significant voltage drops across a lighting circuit. This drop often manifests as bulbs that appear dimmer than usual or lighting fixtures that exhibit erratic performance. Recognizing these early signs is the first step in preventing the catastrophic failure of switches, receptacles, and the wiring insulation itself, which may become brittle and crack under prolonged thermal stress.
Diagnostic Techniques and Tools
The most effective way to detect high-resistance connections is through non-contact thermal imaging and precise voltage drop testing. A thermal camera can reveal “hot spots” at switch boxes or fixture junctions that are invisible to the naked eye. When a circuit is under load, a connection with high resistance will appear significantly warmer than the surrounding conductors. For those without thermal imaging equipment, a high-quality digital multimeter is an indispensable tool. By measuring the voltage at the source and comparing it to the voltage at the fixture under load, you can calculate the voltage drop. A drop exceeding three percent is generally considered a red flag indicating a resistive fault.
In addition to active testing, visual inspection remains a cornerstone of electrical maintenance. Professionals look for signs of discoloration, charred insulation, or brittle wire jackets near terminals. It is vital to remember that electricity can be lethal; always turn off the main power at the breaker panel before removing cover plates or inspecting wiring. For further guidance on safe testing procedures, homeowners can refer to the Electrical Safety Foundation International. Always ensure that the test equipment you use is rated for the correct CAT (Category) level for residential electrical work to ensure your own protection while performing diagnostics.
Common Causes of Connection Failure
Several factors contribute to the degradation of connections in lighting circuits. The most common culprit is thermal cycling, where the constant heating and cooling of a circuit causes the mechanical fasteners, such as screw terminals or wire nuts, to vibrate loose. Furthermore, oxidation occurs naturally when copper or aluminum wires are exposed to air, creating a thin layer of non-conductive film on the surface of the metal. This is especially prevalent in damp environments like bathrooms or outdoor lighting installations. Using the incorrect gauge of wire for a terminal or failing to torque a screw to the manufacturer’s specified pressure are also frequent installation errors.
Another significant factor in 2026 is the widespread adoption of smart lighting and LED technology. While LEDs draw less power, they are often installed in older existing circuits that may have been subjected to decades of wear. The rapid switching cycles of smart dimmers can exacerbate loose connections if the wiring was not perfectly secured during the initial installation. Additionally, the presence of dissimilar metals—such as copper-clad aluminum wiring—can lead to galvanic corrosion if not treated with the proper anti-oxidant compounds. Addressing these root causes requires not just tightening a screw, but often re-stripping the wire to expose fresh, unoxidized metal before reconnecting it securely.
Step-by-Step Remediation
Effective Repair Procedures
Once a high-resistance point is identified, the repair process must be methodical. Begin by isolating the circuit at the breaker. Use a non-contact voltage tester to verify the power is off. If the fault is at a screw terminal, inspect the wire for signs of pitting or deep scoring. If the copper is damaged, cut the wire back to a clean section and strip the insulation to the proper length specified by the device manufacturer. Always wrap the wire around the terminal screw in a clockwise direction; this ensures that as you tighten the screw, the loop closes tighter around the shank, creating a more robust mechanical bond.
When dealing with wire nut connections in a junction box, ensure that the conductors are properly twisted together before applying the wire nut. A common mistake is relying on the wire nut to “pull” the wires together, which leads to loose, resistive joints. If you are joining multiple wires, consider using lever-action connectors, which provide a consistent, spring-loaded clamping force that does not loosen over time due to vibration. Once the connection is secure, gently tug on each wire to ensure it is held firmly. Finally, wrap electrical tape around the base of the wire nut and the wires to add a layer of protection against accidental contact and moisture ingress.
Preventative Maintenance Strategies
Preventative maintenance is the best defense against electrical degradation. Every few years, it is wise to perform a “tightening tour” of your home’s electrical system. This involves checking the tightness of connections at switch boxes, light fixtures, and even the main service panel if you are qualified to do so. Ensure that all wire nuts are sized correctly for the number and gauge of wires being joined. Overcrowding a junction box is a recipe for trouble, as it prevents proper heat dissipation and makes it difficult to achieve a secure, uniform connection. Keeping your electrical boxes clean and free of debris is also a simple yet effective way to maintain long-term safety.
Investing in high-quality components, such as specification-grade switches and receptacles, can significantly reduce the likelihood of high-resistance issues. These components typically feature heavier-duty contact points and more robust screw terminals than entry-level hardware. By 2026, many homeowners are also upgrading to AFCI (Arc Fault Circuit Interrupter) breakers, which are specifically designed to detect the unique electrical signatures of arcing caused by loose or resistive connections. While these breakers do not fix the physical fault, they act as an essential safety net, de-energizing the circuit the moment a dangerous arc is detected, thereby preventing a potential fire before it can spread.
Comparison of Connection Methods
| Connection Type | Reliability | Ease of Use | Best Application |
|---|---|---|---|
| Wire Nuts | Medium | High | General household wiring |
| Lever Connectors | High | Very High | Tight spaces/multi-wire |
| Screw Terminals | High | Medium | Switches and outlets |
| Push-in Terminals | Low | Very High | Temporary connections |
Key Takeaways
- High-resistance connections convert electricity into heat, creating significant fire hazards.
- Thermal imaging and voltage drop testing are the most reliable methods for identifying faults.
- Always turn off the main power before performing any electrical inspection or repair.
- Proper mechanical bonding, such as clockwise loops on screws, prevents future loosening.
- Upgrading to AFCI breakers provides an additional layer of protection against arc faults.
- Routine maintenance in 2026 ensures your home remains safe and electrically efficient.
Frequently Asked Questions
What does a buzzing sound in a light switch mean?
A buzzing sound is often a sign of electrical arcing caused by a high-resistance connection, which creates tiny sparks and vibrations within the switch mechanism.
Can I repair a loose connection myself?
If you have basic electrical knowledge and the correct tools, you can perform minor repairs, but always prioritize safety and consult a licensed electrician for complex issues.
Why do LED lights flicker when there is a loose connection?
LEDs are highly sensitive to voltage fluctuations; a high-resistance connection causes intermittent voltage drops that result in noticeable flickering or dimming.
Are push-in wire connectors reliable for lighting?
While convenient, push-in connectors can fail over time compared to lever-action or properly applied wire nuts, especially in older homes with rigid wiring.
How often should I inspect my home’s electrical connections?
A proactive inspection every 3 to 5 years is recommended to identify signs of thermal stress, oxidation, or mechanical loosening before they become dangerous.
Conclusion
Maintaining the integrity of your home’s lighting circuits is a fundamental aspect of responsible property ownership. By understanding the causes of high-resistance connections and employing systematic diagnostic and repair techniques, you can effectively mitigate the risk of electrical fires and ensure consistent performance. Remember that while modern technology offers sophisticated tools for detection and protection, the basics of clean, tight, and secure connections remain the gold standard. Stay vigilant, prioritize safety at every step, and do not hesitate to contact a professional if you encounter wiring that appears damaged or beyond your comfort level to repair.