

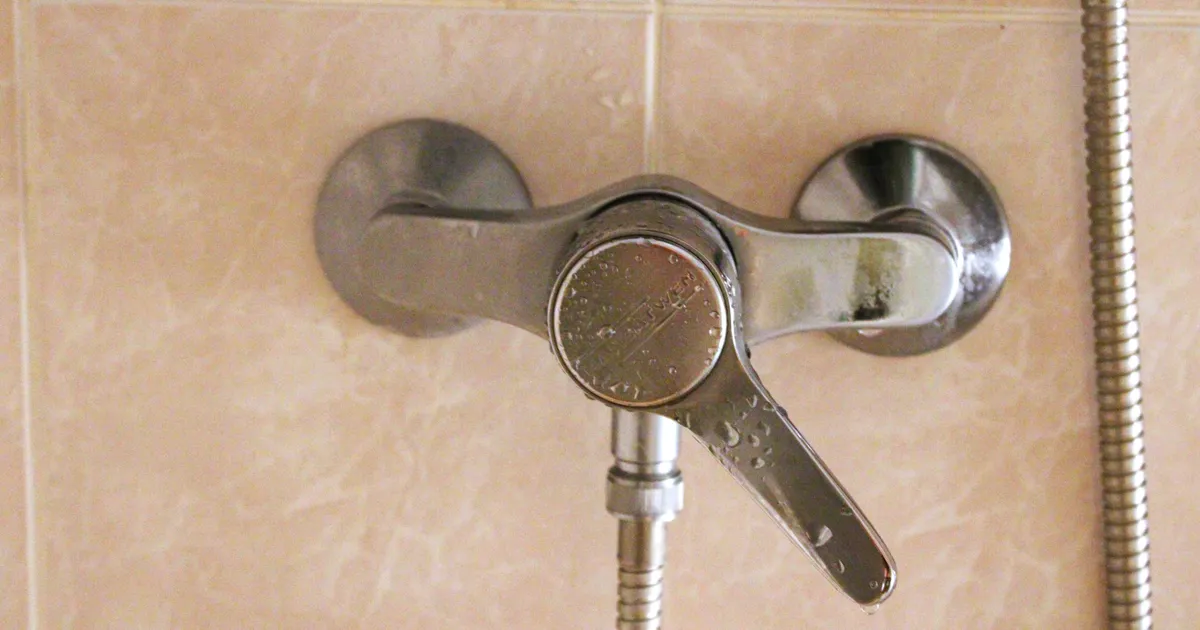

Learning how to diagnose and replace a faulty shower cartridge is an essential skill for any homeowner looking to stop persistent drips and improve bathroom efficiency. A dripping showerhead is more than just an annoyance; it is a significant source of water waste that inflates utility bills and can lead to long-term mineral buildup or fixture corrosion. In 2026, modern plumbing standards emphasize proactive maintenance to extend the lifespan of high-quality hardware. By understanding the mechanical function of your shower valve, you can pinpoint whether the issue stems from worn-out O-rings, sediment accumulation, or a cracked internal housing. This authoritative guide provides the expert insights required to restore your shower’s performance, ensuring your home plumbing remains reliable and sustainable for years to come.
Identifying the Root Cause
Before initiating any repairs, you must verify that the shower cartridge is indeed the culprit behind your persistent drips. Start by turning off the water supply to the bathroom, which is typically controlled by shut-off valves located behind an access panel or under the vanity. If the dripping ceases immediately after shutting off the main supply, the issue is almost certainly internal to the valve assembly. You should also listen for specific sounds; a whistling noise often indicates a restrictive buildup of debris, while a constant, steady drip suggests a compromised rubber seal or a degraded ceramic disc within the cartridge itself.
It is important to differentiate between a cartridge failure and a simple issue with the showerhead or aerator. Sometimes, mineral deposits from hard water can cause backpressure, leading to drips that mimic a faulty valve. Inspect the showerhead for visible calcification, as professional resources like the EPA WaterSense program suggest that cleaning your fixtures can often resolve minor flow issues. If the showerhead is clean and the drip persists despite full handle closure, the internal cartridge mechanism has likely reached the end of its functional life. In 2026, manufacturers frequently update valve designs, so identifying your specific model number via the flange or handle assembly is crucial for sourcing the correct replacement part.
Gathering Essential Tools
To successfully replace a faulty shower cartridge, you must have a specialized toolkit prepared to handle delicate plumbing components. You will need a set of hex keys (Allen wrenches) to remove the handle, a Phillips and flat-head screwdriver, and a high-quality adjustable wrench or dedicated cartridge puller. A cartridge puller is highly recommended for older installations, as mineral deposits often fuse the plastic or brass cartridge to the valve body, making manual removal risky. Attempting to pry out a seized cartridge with improper tools can damage the internal copper piping or the valve body itself, leading to costly professional repairs.
In addition to the physical tools, ensure you have a small container of plumber’s silicone grease. This lubricant is non-toxic and designed to protect the rubber O-rings during installation, ensuring a smooth, watertight seal that prevents future binding. You may also want to keep a roll of plumber’s tape on hand, though modern cartridges often rely on integrated gaskets rather than threaded tape. Having a clean rag and a small wire brush will also help you clear away any loose debris or sediment from the valve chamber once the old cartridge is removed. Proper preparation is the hallmark of professional plumbing maintenance, ensuring a seamless experience.
Removing the Handle and Trim
The process of exposing the cartridge begins with the careful removal of the handle and trim plate. Most modern showers feature a decorative cap covering a set screw; use a small flat-head screwdriver to gently pry this cap off. Once exposed, use the appropriate size hex key to loosen the screw, allowing you to pull the handle off the stem. If the handle feels stuck due to lime scale, apply a penetrating oil or a solution of white vinegar to the seam, letting it sit for several minutes before attempting to pull it again. Do not force the handle, as the internal components can be fragile.
After the handle is removed, you will see the escutcheon plate and the cartridge stem protruding from the wall. Some models require the removal of a locking nut or a decorative sleeve that unscrews by hand. Once these are off, you will have a clear view of the cartridge retention clip or nut. Keep all screws and small parts in a labeled tray or a magnetized bowl to prevent loss during the repair. This organized approach is standard practice for professional contractors, as even a single missing screw can prevent the handle from seating correctly during reassembly, leading to a loose or wobbly fixture.
Extracting the Faulty Cartridge
Once the valve is exposed, you are ready to remove the faulty shower cartridge. Most cartridges are held in place by a U-shaped brass or stainless steel clip that slides down into the valve body. Use needle-nose pliers to pull this clip upward firmly. With the clip removed, the cartridge should be free to slide out, but as noted previously, mineral buildup often creates a stubborn seal. If the cartridge does not slide out with light pressure, use the cartridge puller tool by threading it onto the stem and applying slow, steady force. This prevents the stem from snapping off, which would turn a simple replacement into a complex extraction job.
Safety Precautions for Plumbing
Always ensure that the water pressure is completely relieved from the lines before attempting to pull the cartridge. Open the shower valve to the “on” position after shutting off the water supply to drain any trapped liquid. This step is critical because any residual pressure can cause a sudden spray of water when the seal is broken, potentially damaging your drywall or electrical fixtures. Additionally, if your home uses a copper-pipe plumbing system, be mindful of the amount of torque applied to the valve body to avoid twisting the pipes behind the wall. Always hold the valve assembly steady with one hand while pulling with the other.
Installing the New Component
Before inserting the replacement cartridge, take a moment to inspect the interior of the valve body. Use your wire brush to gently remove any remaining sediment or corrosion from the inner walls. A clean surface is essential for the new O-rings to seat properly, which is the primary defense against future leaks. Apply a light, even coating of plumber’s silicone grease to the new cartridge’s O-rings. This not only facilitates a smoother installation but also helps protect the rubber from drying out or tearing during the insertion process. Ensure the cartridge is oriented correctly; most units have an “up” or “top” marking to guarantee the hot and cold water balance is properly aligned.
Slide the new cartridge into the valve body until it is fully seated. You should feel a slight resistance as the O-rings compress against the wall. Once seated, reinsert the retention clip, ensuring it clicks firmly into the grooves of the valve body. If you are using a threaded nut instead of a clip, tighten it using a wrench, but do not overtighten, as this can crack the plastic housing of the cartridge. Reattach the trim sleeve, the escutcheon plate, and finally the handle. Turn the water supply back on slowly and check for any immediate leaks around the handle before testing the shower temperature and flow.
Testing and Final Verification
With the new cartridge installed, it is time to perform a thorough system test to ensure the persistent drips have been eliminated. Turn the water supply back on fully and observe the showerhead for several minutes. If the dripping has stopped, cycle the handle through its full range of motion, from cold to hot, to ensure the internal mechanism is operating smoothly and that there is no binding. If you notice any water leaking from behind the handle, immediately shut off the supply and verify that the cartridge is seated flush and the retention clip is fully engaged. Minor adjustments at this stage are common and expected.
Finally, confirm that the temperature settings are calibrated to your preference. Some modern cartridges include a temperature limit stop, which is a small plastic ring that prevents the handle from turning to the hottest setting to prevent scalding. If your water is not getting hot enough or is too hot, you may need to adjust this limit stop per the manufacturer’s instructions. By 2026, many smart home systems also integrate with flow sensors, so you may want to check your utility app to confirm that the baseline water flow has returned to normal. Documenting these steps helps if you need to troubleshoot future issues or perform routine maintenance down the line.
Key Takeaways
- Confirm the leak is caused by the cartridge by shutting off the main water supply to the shower.
- Always use a dedicated cartridge puller to avoid damaging the valve body during removal.
- Clean the valve interior thoroughly to ensure new O-rings provide a perfect, watertight seal.
- Use only plumber-grade silicone grease to protect rubber components and ensure smooth operation.
- Verify the orientation of the new cartridge before final installation to maintain water balance.
- Perform a slow, controlled water pressure test after reassembly to prevent unexpected spray.
Frequently Asked Questions
How do I know if I need a new cartridge or just a new showerhead?
If the dripping continues even when the handle is fully closed, the issue is the cartridge. If the drip occurs only when the water is turned on but the spray is inconsistent, it may be a clogged showerhead.
Can I replace the cartridge without turning off the main house water?
You must turn off the water, but if your shower has integrated shut-off valves located behind the trim plate, you can use those instead of shutting off the main house supply.
What should I do if the old cartridge is stuck in the valve?
Apply a penetrating oil or white vinegar to dissolve mineral buildup. If it remains stuck, use a specialized cartridge puller tool to avoid damaging the surrounding plumbing pipes.
How often should a shower cartridge be replaced?
While there is no strict schedule, a high-quality cartridge typically lasts between 5 to 10 years depending on your local water hardness and usage frequency.
Are all shower cartridges universal?
No, cartridges are highly specific to the brand and model of your shower valve. Always take the old cartridge to a hardware store to match it exactly or use the manufacturer’s part number.
Conclusion
Successfully diagnosing and replacing a faulty shower cartridge is a rewarding endeavor that restores order to your bathroom while preventing unnecessary water waste. By following the systematic approach outlined in this guide, you can confidently address the root cause of persistent drips using the correct tools and professional techniques. Maintaining your plumbing fixtures in 2026 ensures both the longevity of your hardware and the efficiency of your home. Remember that careful preparation and attention to detail during the installation process are the best defenses against future leaks. With a properly functioning cartridge, you can enjoy a reliable shower experience and peace of mind.