

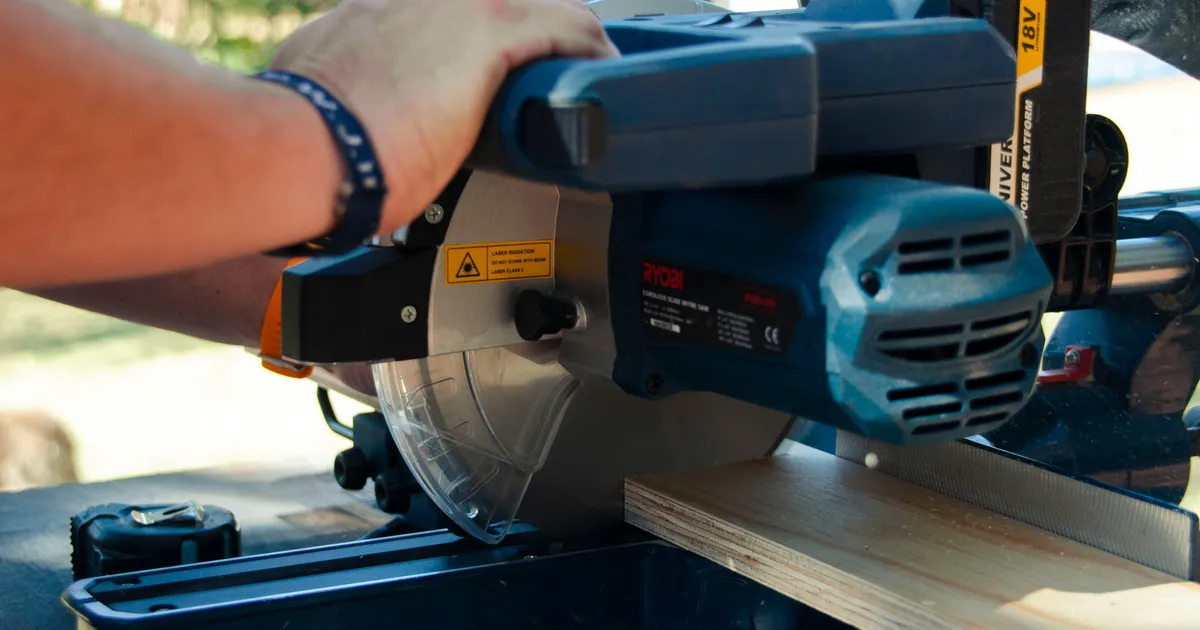

Learning how to safely operate a miter saw for perfect corner joints is a foundational skill that separates amateur work from professional-grade home framing projects in 2026. Whether you are installing intricate crown molding or constructing structural window frames, the miter saw remains the most versatile tool in your workshop arsenal. Achieving seamless, gap-free corners requires a combination of rigorous safety protocols, precise calibration, and an understanding of wood movement. Because this tool utilizes a high-speed spinning blade, operators must maintain absolute focus and respect for its capabilities. By mastering the fundamentals of blade control and workpiece support, you can ensure that every angle is crisp and every joint remains structurally sound for years to come. This guide will walk you through the essential techniques required to achieve expert-level results while prioritizing your personal safety above all else.
Essential Safety Protocols
Before you even plug in your miter saw, you must establish a workspace that prioritizes operator safety. Always wear impact-resistant safety glasses and hearing protection, as the decibel levels of these machines can lead to permanent damage during extended sessions. Ensure that your work area is free of debris, extension cords, and trip hazards that could compromise your stability while making a cut. In 2026, manufacturers have integrated advanced laser guides and blade brakes, but these features are no substitute for common sense. Keep your hands at least six inches away from the blade path at all times, and never reach behind the fence while the blade is in motion. Developing these habits early will create a foundation of safety that protects you throughout your woodworking career.
Proper body positioning is equally critical when operating the saw. Stand to the side of the blade path rather than directly behind it, which prevents potential injury if a board kicks back. Ensure that your saw is securely bolted to a stable stand or workbench to prevent tipping during the operation of a sliding miter saw. According to OSHA construction safety guidelines, maintaining a clear line of sight and stable footing is mandatory for power tool operation. If you feel tired or rushed, stop immediately; the most dangerous accidents occur when focus wanes at the end of a long day. By treating every cut as a deliberate, controlled action, you minimize the risk of mechanical failure or operator error.
Understanding Miter and Bevel Angles
To create perfect corner joints, you must understand the difference between miter cuts and bevel cuts. A miter cut is an angle across the face of the board, usually adjusted by swinging the saw table to the left or right. A bevel cut is an angle across the thickness of the board, achieved by tilting the saw head. For standard 90-degree corner joints, you typically divide the angle by two, resulting in two 45-degree miter cuts that meet perfectly. If you are working with non-standard wall angles, use a digital angle finder to determine the exact degree, then divide that measurement by two to set your saw accurately. Precision in these initial settings determines the aesthetic quality of your finished trim.
The accuracy of your cuts depends heavily on the calibration of your machine. Before starting a project, use a reliable machinist square to verify that the blade is perfectly perpendicular to the fence at the zero-degree setting. Many saws feature detents, which are pre-set notches for common angles like 22.5 or 45 degrees, but these can drift over time. Periodically check these detents to ensure they are not loose or misaligned due to vibration. By calibrating your saw at the start of every major framing project, you eliminate the frustration of having to recut expensive materials. Precision calibration is the secret weapon of professional finish carpenters who demand flawless joints on every single frame they assemble.
Recommended Tool Comparisons
| Feature | Compound Miter Saw | Sliding Miter Saw | Dual-Bevel Saw |
|---|---|---|---|
| Max Board Width | Limited | Excellent | Moderate |
| Bevel Capability | Single Direction | Single Direction | Both Directions |
| Complexity | Low | Medium | High |
| Best Use | Standard Trim | Wide Stock/Flooring | Complex Framing |
Managing Wood Movement
Wood is a living material that expands and contracts based on ambient humidity, which can wreak havoc on corner joints if not managed correctly. Even if your cuts are perfectly angled, the wood may shrink after installation, creating unsightly gaps. To mitigate this, store your lumber in the room where the framing will take place for at least 48 hours before cutting. This process, known as acclimation, allows the moisture content of the wood to stabilize, ensuring that the joints remain tight. In 2026, many professionals also utilize high-quality wood glue in combination with mechanical fasteners to provide a permanent bond that resists the natural movement of the grain over time.
When cutting long boards, support is vital to prevent the wood from sagging. A sagging board can cause the blade to bind, leading to dangerous kickback or an uneven cut that ruins the joint. Utilize adjustable material supports or roller stands on both sides of the miter saw to keep the workpiece perfectly level with the table. If you are cutting very long pieces of crown molding, consider using a sacrificial fence or a clamped stop block to ensure consistency across multiple cuts. By supporting the full weight of the lumber, you allow the saw to do its job without fighting the tension or gravity of the material, resulting in a cleaner, safer cut.
Advanced Cutting Techniques
Achieving perfect inside and outside corners often requires the technique of coping. Instead of cutting two 45-degree angles, you cut one board square against the wall and use a coping saw to cut the profile of the molding into the face of the second board. This creates a joint that is much more forgiving of slightly out-of-square walls. While it takes more time than a standard miter cut, the result is a joint that will not pull apart as the wood shifts. Learning to cope joints is a hallmark of an expert framer and will significantly elevate the quality of your home framing projects compared to standard butt or miter joints.
For crown molding specifically, cutting the material in the “nesting” position—the same orientation it will occupy on the wall—can simplify the geometry. If your saw lacks the vertical capacity to cut the molding in its installed position, you must lay it flat on the table, which requires complex compound miter settings. Consult a miter saw angle chart or use a digital calculator to determine the correct settings for your specific molding profile. Always perform a test cut on a scrap piece of wood before committing to your finish material. This practice saves time and money, ensuring your final cuts are perfectly aligned and ready for installation.
Blade Selection and Maintenance
The blade you choose dictates the quality of the finish. For framing, a 40-tooth or 60-tooth carbide-tipped blade is generally sufficient, but for fine finish work, you should upgrade to an 80-tooth or 100-tooth blade. A high-tooth-count blade produces a smoother cut, reducing the need for sanding and preventing splintering on delicate hardwoods. Inspect your blade before each use for missing teeth or signs of resin buildup. Resin from pine and other softwoods acts like glue, increasing friction and heat, which can burn the wood and dull the blade prematurely. Keep your blades clean and sharp to ensure smooth, effortless operation that protects both the tool and the quality of your work.
Maintenance extends beyond the blade to the mechanical components of the saw. Regularly clean the saw table, slides, and dust collection port to ensure smooth movement and accurate measurements. If the saw is equipped with a laser, verify its alignment periodically, as it can be bumped out of position during transport or heavy use. Lubricate the sliding rails with a dry lubricant to prevent binding, as oil-based lubricants attract sawdust and create a sticky mess. By treating your miter saw as a precision instrument rather than a mere construction tool, you ensure that it remains a reliable partner for your home improvement endeavors for many years to come.
Key Takeaways
- Always wear eye and ear protection to prevent injury during operation.
- Calibrate your saw’s angle settings frequently to ensure perfect joints.
- Acclimate your wood to the room’s humidity to prevent future joint gaps.
- Support long boards properly to prevent binding and dangerous kickback.
- Use a high-tooth-count blade for smooth, splinter-free cuts on finish trim.
- Test all angles on scrap wood before cutting expensive finish materials.
Frequently Asked Questions
How can I tell if my miter saw is square?
Place a reliable machinist square against the fence and the blade. If you see light between the square and the blade, your saw needs calibration using the adjustment screws on the head.
Why do my miter joints have gaps after installation?
Gaps usually occur because the wall corners are not perfectly 90 degrees or the wood has shrunk due to humidity changes. Always measure the wall angle with an angle finder.
Is a sliding miter saw better than a standard one?
Yes, a sliding miter saw allows you to cut wider boards that a standard saw cannot handle. It is essentially required for professional-grade trim and framing work.
How often should I change my miter saw blade?
Change your blade when you notice burning on the wood, splintering edges, or when you have to push significantly harder to complete a cut, indicating the teeth are dull.
What is the safest way to cut small pieces?
Never hold small pieces with your hands. Use a clamp or a custom jig to hold the material firmly against the fence, keeping your fingers away from the danger zone.
Conclusion
Mastering the miter saw is a journey of precision and safety that transforms the way you approach home framing. By adhering to the protocols of proper setup, consistent maintenance, and careful material handling, you can achieve professional-grade results that stand the test of time. Remember that the quality of your corner joints is a direct reflection of your patience and attention to detail. As you continue to refine your skills throughout 2026, let safety remain your primary guide, ensuring that your workshop remains a place of creativity and success. Every perfect joint you create is a testament to your commitment to excellence in craftsmanship.