

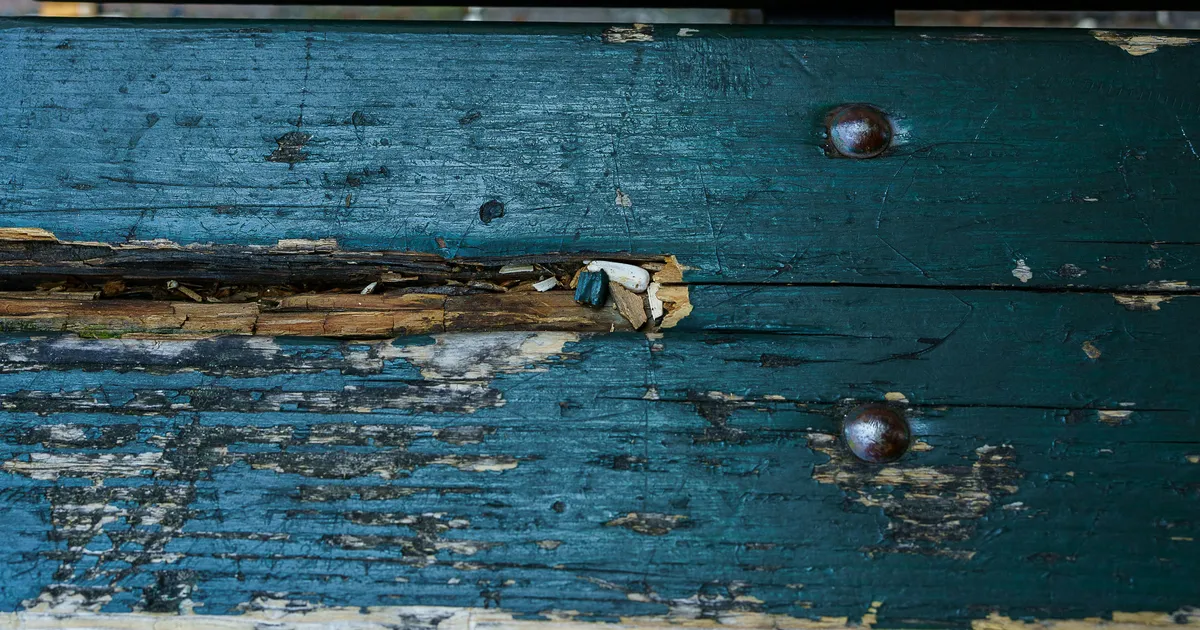

Discovering damage on a beloved wooden furniture piece can be disheartening, often leading us to prematurely consider costly replacements. However, understanding how to repair damaged wooden furniture without replacement is not only a budget-friendly alternative but also a deeply satisfying endeavor. Imagine restoring that cherished antique dresser, saving your dining table from a dreaded water ring, or bringing a wobbly chair back to sturdy life. This guide will equip you with the knowledge and confidence to tackle common furniture ailments, preserving the history and charm of your pieces while sidestepping the expense and environmental impact of buying new. Let’s unlock the secrets to durable, beautiful wooden furniture restoration.
Assess the Damage & Gather Your Tools
Before diving into any repair, a thorough assessment of the damage is crucial. Is it a superficial scratch, a deep dent, a stubborn watermark, or a structural issue like a loose joint? Each type of damage requires a specific approach and set of tools. For surface blemishes, you might need wood repair markers, wax sticks, or fine-grit sandpaper. Deeper issues could call for wood filler, clamps, and wood glue. Taking the time to accurately identify the problem will prevent further damage and ensure you select the most effective repair strategy, saving you time and frustration in the long run. Think of it as a doctor diagnosing an ailment before prescribing treatment.
Once you’ve identified the type of damage, gather all necessary tools and materials. Basic kits often include wood glue, clamps, a utility knife, various grits of sandpaper, wood filler, and protective finishes like varnish or polyurethane. For specific issues, you might add a heat gun for veneer repairs, oxalic acid for dark stains, or specialized touch-up pens. Experts often recommend having a clean workspace with good lighting and ventilation. According to a 2026 survey of DIY enthusiasts, having all supplies on hand before starting significantly increases the likelihood of a successful repair and reduces project abandonment. Safety gear, such as gloves and eye protection, should always be a priority.
Revitalizing Scratches and Dents
Minor scratches are perhaps the most common form of wood furniture damage, and thankfully, often the easiest to fix. For light surface scratches, try rubbing a walnut (yes, the nut!) along the scratch; its natural oils can often blend the blemish away. Alternatively, specialized wood repair markers or wax sticks, color-matched to your furniture, can effectively hide these imperfections. One user recently shared how they saved a sentimental coffee table from a cat scratch using a simple repair kit, avoiding the costly replacement they initially considered. The trick is to apply sparingly and buff gently, ensuring the repair blends seamlessly with the surrounding wood grain.
Deeper scratches and dents require a bit more effort but are still highly repairable. For dents that haven’t broken the wood fibers, a surprising method involves moisture and heat. Place a damp cloth over the dent and gently iron it on a medium setting. The steam helps the compressed wood fibers swell and rise back to their original position. For more significant gouges or areas where wood is missing, wood filler or epoxy wood putty can be used. Apply the filler, allow it to dry completely, then sand it smooth before staining or painting to match the existing finish. This technique is surprisingly effective, often making the damage virtually undetectable.
Addressing Minor Imperfections
Even the smallest nicks and dings can detract from your furniture’s beauty. For these minor imperfections, touch-up solutions are your best friend. Wood stain pens are excellent for blending in small areas where the finish has been chipped or rubbed off. Choose a pen that matches your furniture’s stain color as closely as possible, apply it lightly, and then wipe off any excess immediately to avoid a darker patch. For very small, pinpoint imperfections, a fine artist’s brush can be used with a small amount of matching stain or even a permanent marker in a pinch, followed by a clear topcoat for protection.
After applying any touch-up, the key to a professional-looking repair is blending. Use a soft cloth to gently buff the repaired area, helping it merge with the surrounding finish. For areas where a clear coat was disrupted, a clear lacquer spray or brush-on polyurethane can be applied over the repair to restore the protective layer and uniform sheen. Remember, patience is vital here; apply thin coats and allow adequate drying time between applications. This meticulous approach ensures that your efforts result in a seamless, durable finish that makes the imperfection disappear.
Restoring Watermarks and Stains
Watermarks, those unsightly white rings or cloudy patches, are a common woe for wooden furniture owners. Often caused by hot drinks or spills left unattended, they indicate moisture trapped beneath the finish. A popular and effective DIY remedy involves placing a clean, dry cotton cloth over the watermark and gently ironing it on a low setting without steam. The heat helps to evaporate the trapped moisture, often making the mark vanish. Another method is to lightly rub the watermark with a paste of non-gel toothpaste and baking soda, then wipe clean and buff. For persistent white marks, mineral spirits applied with a fine steel wool can also work wonders, followed by a polish.
Dark stains, however, are a different beast, indicating deeper penetration into the wood itself, often from prolonged exposure to water, chemicals, or pet accidents. These typically require more aggressive treatment. For stubborn dark spots, you might need to carefully sand down to the bare wood. For severe cases, products containing oxalic acid can be used as a wood bleach to lighten the stain before sanding and refinishing. Always test such products in an inconspicuous area first. If the stain is extensive or deep, consulting a professional restorer might be a wise investment to ensure the integrity of your piece and achieve optimal results.
Repairing Loose Joints and Structural Issues
A wobbly chair or a loose table leg can transform a functional piece of furniture into a frustrating hazard. The good news is that these structural issues are often highly repairable. The first step is typically to carefully disassemble the joint. Clean away any old, dried glue from both surfaces using a chisel or sandpaper. This ensures a fresh, strong bond. Apply a high-quality wood glue generously to both mating surfaces, then reassemble the joint. Social proof from countless DIYers suggests Titebond III is a popular choice for its strength and water resistance. Ensure the pieces fit snugly and are properly aligned.
Once the joint is reassembled, clamping is absolutely essential for a strong, lasting repair. Use furniture clamps to hold the pieces firmly together while the glue dries. If you don’t have clamps, strong rope or bungee cords can serve as temporary alternatives, but ensure even pressure. Allow the glue to cure for at least 24 hours, or even longer for heavy-duty pieces, before removing the clamps and putting the furniture back into use. For extra reinforcement, especially on frequently used items, consider adding corner blocks or small metal braces on the underside. This proactive approach ensures your furniture remains sturdy for years to come, potentially well into 2026 and beyond.
The Art of Refinishing and Protection
Sometimes, damage is too extensive for spot repairs, or the entire piece simply needs a fresh start. This is where refinishing comes in. Refinishing involves stripping off the old finish, sanding the wood smooth, applying new stain or paint, and then sealing it with a protective topcoat. It’s a transformative process that can breathe new life into an otherwise tired or heavily damaged piece. Start by using a chemical stripper in a well-ventilated area, then meticulously sand through various grits, from coarse to fine, to achieve a perfectly smooth surface. This preparation is key to a flawless final finish.
After sanding, apply your chosen stain or paint evenly, wiping off excess stain according to product instructions. Once dry, protect your hard work with a durable topcoat. Polyurethane, lacquer, or varnish offer excellent protection against future spills, scratches, and wear. Apply multiple thin coats, sanding lightly with very fine-grit sandpaper between each coat for maximum smoothness and adhesion. Proper application of a protective finish not only enhances the furniture’s appearance but significantly extends its lifespan, preventing future damage. Regular cleaning and occasional re-application of polish or wax will keep your restored pieces looking beautiful for decades.
Key Takeaways
- Most wooden furniture damage is repairable, saving money and preserving sentimental value.
- Accurate damage assessment and having the right tools are crucial for successful repairs.
- Techniques range from simple walnut rubs for scratches to steaming for dents and re-gluing for loose joints.
- Refinishing offers a complete transformation for extensively damaged or outdated pieces.
- Patience, proper technique, and protective finishes ensure durable, long-lasting results.
Frequently Asked Questions
Is it always cheaper to repair wooden furniture than replace it?
In most cases, yes. Repairing wooden furniture, especially minor damage like scratches, dents, or loose joints, is significantly more cost-effective than buying a new piece. Even extensive refinishing projects typically cost less than a high-quality replacement, not to mention the sentimental value and unique character of an older piece that cannot be replicated.
What if I don’t know the type of wood my furniture is made from?
Not knowing the exact wood type is often not a hindrance for common repairs like fixing scratches, dents, or loose joints. The repair methods for these issues are generally universal across different hardwoods and softwoods. For staining or refinishing, however, testing your chosen stain or finish on an inconspicuous area (like the underside of a table) is always recommended to ensure compatibility and achieve the desired color.
When should I hire a professional for furniture repair?
While many repairs are DIY-friendly, consider hiring a professional for complex structural damage, antique restoration, veneer repairs, or if you’re uncomfortable with chemical strippers or specialized tools. Professionals have expertise, specialized equipment, and access to unique materials that can ensure a flawless, historically accurate repair, especially for valuable or intricate pieces.
How long do DIY wooden furniture repairs typically last?
The longevity of a DIY repair largely depends on the quality of materials used, the thoroughness of the repair process, and the ongoing care of the furniture. With proper preparation, high-quality glues and finishes, and regular maintenance, many DIY repairs can last for years, even decades. A well-executed repair can be as durable as the original construction, especially if protective measures are applied.
Conclusion
Embracing the challenge of how to repair damaged wooden furniture without replacement is a truly rewarding journey. You’re not just fixing an object; you’re preserving history, practicing sustainability, and developing valuable skills. Each successful repair builds confidence and deepens your appreciation for craftsmanship. Don’t let a few imperfections lead you to discard a perfectly salvageable piece. Gather your tools, assess the damage, and embark on your restoration project. Your cherished furniture, and your wallet, will thank you. Why not start with that small scratch you’ve been overlooking today?